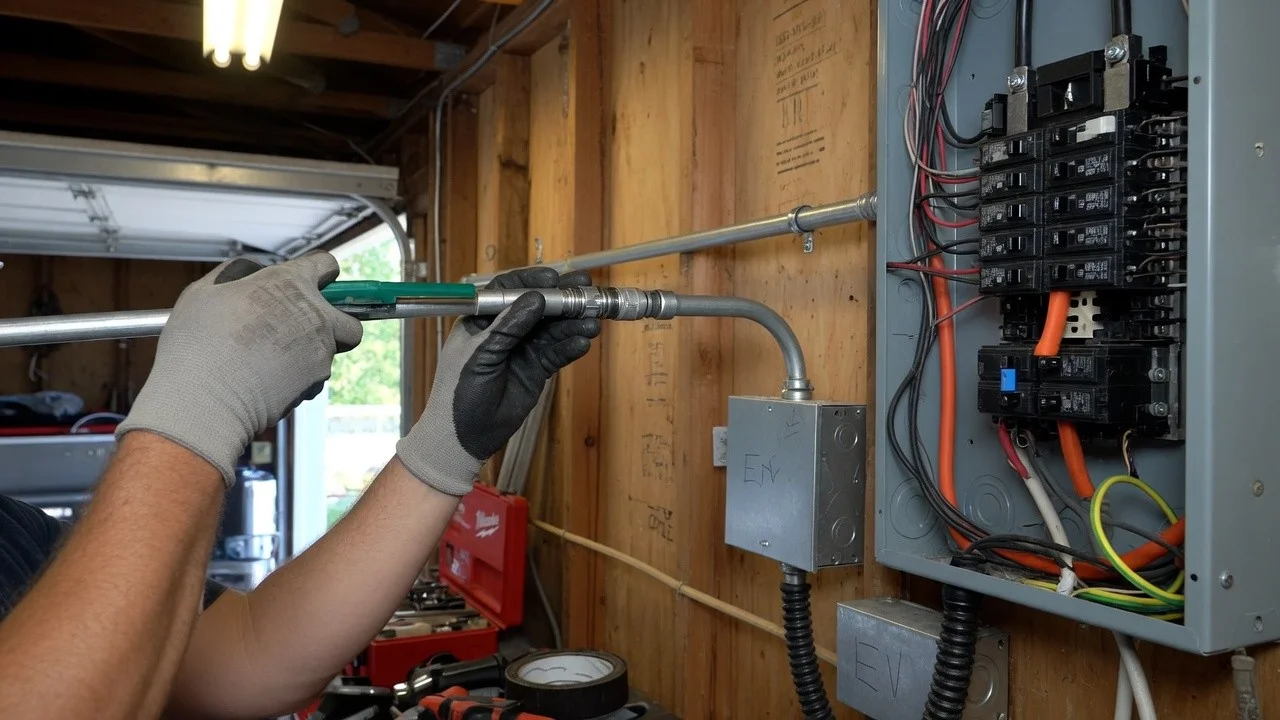
Search results for “how to install a home EV charger” often show five generic steps and a stock photo of a smiling electrician. Real projects stall on panel photos, permit timing, cable reach, and DIY boundary questions.

Short answer: For most USA homes, a Level 2 install means: choose a location, confirm panel capacity, pick a hardwired or plug-in plan, hire a licensed electrician, pull any required permit, install a dedicated circuit to code, pass inspection if required, then do a careful first charge. Homeowners can prep and plan. New 240-volt branch circuits are not a casual weekend experiment.
What this guide covers that thin posts skip
- A homeowner prep week before the crew arrives
- DIY limits in plain language
- Permit day expectations
- Failure patterns that cause callbacks
- A first-charge checklist after the tools leave
Step 0 — Decide Level 2 is the right project
If your daily miles are low, Level 1 may buy time. If you already know Level 2 is the goal, keep going. Refresh Level 1 vs Level 2 only if you are unsure.
Step 1 — Pick the parking wall like a cable designer
Stand where the car actually parks. Open the charge port. Measure cable path with a string if you must. Note obstacles: water heater, storage racks, man doors, walkways.
Goals:
- Short safe path from panel when possible
- Cable reaches the port without driveway trip hazards
- Unit height comfortable for daily plug-in
- Weather protection for outdoor mounts
Step 2 — Gather panel and path evidence
Before you call electricians, collect:
- Clear photos of the panel interior (cover off only if you can do so safely—or have a pro open it)
- Panel brand/label amperage if visible
- Photos of the wall path and attic/crawl access if relevant
- Your target amperage and hardwired vs plug-in preference
- Car connector type (NACS / J1772)
Good photos get better bids. Vague texts get padded quotes.
Step 3 — Choose amp target and unit type
Match the car’s onboard AC limit and panel reality. Read 40-amp vs 48-amp and the buying guide. Do not order a unit that fights the electrical plan.
Step 4 — Hire a licensed electrician (and know DIY limits)
Usually hire a pro for: new breakers, new branch circuits, panel work, outdoor disconnects, permit-related installs, anything that modifies service equipment.
Sometimes homeowner-friendly: mounting a unit after the circuit is installed (only if the manufacturer and local rules allow, and connections are within your skill and code).
If you are not sure, hire the pro for the full job. The cost of a mistake on a continuous high-load circuit is not theoretical.
Step 5 — Compare scopes, not only price
Ask each bid to state:
- Breaker size and wire sizing approach
- Hardwired vs receptacle
- Disconnect requirements
- Permit included or not
- Indoor/outdoor materials
- Estimated timeline and inspection handoff
Use cost context from USA install cost ranges.
Step 6 — Permits and inspection
Many cities want a permit for a new EV circuit. The electrician often pulls it. You may need to be available for inspection access. Keep documents. Future home buyers and insurers like a clean paper trail.
Utility rebates and some tax documentation also prefer licensed, permitted work. Verify current program rules before you assume paperwork will be easy. See tax credit and rebates.
Step 7 — Install day: what good work looks like
- Dedicated circuit for the EVSE as designed
- Neat conduit or approved cable routing
- Correct strain relief and outdoor seals when needed
- Labeling that future you can understand
- Function test before the crew leaves
Ask the electrician to show you the breaker location and any app amp limit settings.
Step 8 — First charge checklist
- Confirm the breaker is on and the unit shows ready status.
- Start with a normal overnight charge, not a stress test during a heat wave if you can help it.
- Set a daily charge limit in the car if that is your habit (many drivers use less than 100% for daily use).
- If the unit has scheduling, set it after you know your utility rate windows.
- Watch the first full session for error lights, hot smells, or nuisance trips—call the installer if anything seems wrong.
Common install fails (avoid these)
- Shared dryer circuit as a permanent plan
- Undersized extension-cord “temporary” that becomes permanent
- Indoor-rated gear left in weather
- Cable too short for real parking angles
- No permit where required
- Max amp setting on a stressed panel
- Ignoring manufacturer torque and wire instructions
Homeowner prep week (saves labor hours)
- Clear the wall and floor path
- Move storage that blocks panel or attic access
- Secure pets
- Unlock gates and garage codes
- Decide final mount height with a mock cable reach test
- Have payment and permit contacts ready
Renters and HOA realities
If you do not own the panel path, stop before you buy hardwired hardware. Get written approval. Portable Level 2 only helps when a correct receptacle plan exists. For multi-unit buildings, read apartment and condo charging.
Choosing hardwired vs receptacle during install planning
Hardwired wall connectors look clean and reduce one failure point. Receptacle plans can help if you may move the unit. The wrong choice is deciding on Amazon and forcing the electrician into a retrofit. Bring both options to the bid stage and pick with code + lifestyle together.
Labeling and future-you documentation
Ask the installer to label the breaker “EV charger” clearly. Keep a folder with: invoice, permit, model number, amp setting screenshot, and a photo of the finished wiring path. Future troubleshooting and home sale questions get easier.
Inspection day tips
- Keep the work area accessible
- Do not bury the disconnect behind storage the same afternoon
- Be ready to show manufacturer instructions if asked
- Schedule the first real charge after pass, not during a rush-hour crisis
Troubleshooting the first week
If the unit faults, note the LED code or app message before resetting everything. Check that the schedule is not set to off-peak only when you expected immediate charge. Confirm the car’s charge limit and scheduled departure features are not fighting the wall unit. Call the installer for breaker trips or heat smells—do not “fix” with random amp experiments overnight.
When to pause the project
Pause if the HOA denies exterior changes, if the panel report says major service work you cannot fund, or if the only path requires unsafe shared circuits. Redesign location or amp target. A delayed correct install beats a permanent workaround.
Working with busy electricians
Good EV-capable electricians are booked. Send complete photo packs, be flexible on date, and decide hardware promptly after the scope call. Projects stall when homeowners change mount walls three times after rough-in started.
HOA / landlord parallel track
Run approval paperwork in parallel with bidding when exterior changes are involved. Serial processes waste weeks. If approval fails, you only lose planning time—not a half-finished wall scar.
Tools and access the homeowner can prepare
You do not need a full electrical toolkit. You do need clear access, working exterior lights if night work happens, and a decision on cable routing preferences before drywall dust starts. Ambiguity is billable time.
What “dedicated circuit” means in plain words
A dedicated circuit is wiring and a breaker that serve the EV charger as the planned load—not a random kitchen outlet shared with a microwave. Sharing is how nuisance trips and heat problems start. Your electrician sizes the branch for continuous EV load and local code.
If a bid never says “dedicated,” ask. If the answer is “we will use the dryer plug for now,” treat that as temporary at best, not a permanent home system.
Install phase checklist table
| Phase | Homeowner | Electrician |
|---|---|---|
| Plan | Photos, amp target, wall tape | Load calc, path, bid scope |
| Approve | HOA/landlord if needed | Permit when required |
| Build | Clear access | Circuit, mount, test |
| Close | Inspection access | Labels, walkthrough |
| Use | First overnight charge | Support for early faults |
FAQ
How long does installation take?
A simple garage job can be hours. Complex runs and panel upgrades can take days spread across permit and inspection schedules.
Can I install only the outlet and buy the charger later?
Sometimes yes, if the receptacle design matches the charger you will buy. Coordinate specs first so you do not install the wrong outlet type.
Do I need Wi‑Fi during install?
Not for basic power delivery on many units. You may want it later for schedules and firmware.
What if my panel is full?
Ask about load calculation, load management, subpanel options, or service upgrade. Do not force a high-amp circuit by hope.
Is this legal to DIY in my state?
Rules vary. Even where some electrical DIY is allowed, EV continuous loads and permit rules make professional install the safer default for most homeowners.
USA educational walkthrough. Not a wiring manual. Follow local code, manufacturer instructions, and a licensed electrician.
Related guides: cost ranges, pick a unit, incentives.